
The following information provides details about the Custom-Reports preferences used to add custom reports and make them available in the Reports module. You can also set access privileges to custom reports for a selected user.
 This feature is available in the ArchiOffice
Pro and Enterprise editions only.
This feature is available in the ArchiOffice
Pro and Enterprise editions only.
Add ![]()
Click ![]() to
add a custom report file.
to
add a custom report file.
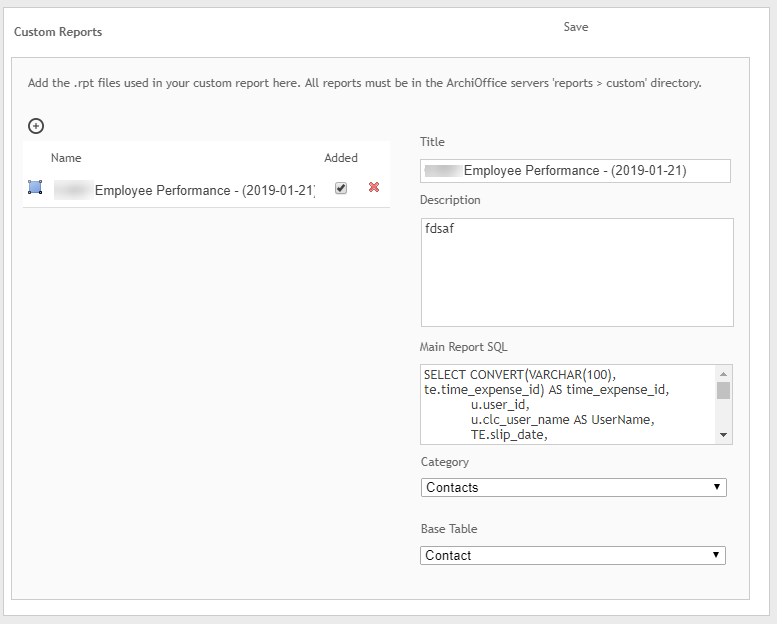
Name:
Enter a name for the report.
Added:
This check box is selected when a custom report is added. It indicates that the report is available for printing in the Reports module. Clear this check box if you do not want it to display in the reports list in the Reports module. Clearing this option will also delete all associated memorized reports.
Title:
This title displays in the reports list in the Reports module.
Description:
The descriptive detail entered here displays when you select this report in the Reports module.
Main Report SQL:
This field displays the SQL code used when generating the custom report.
Category:
Specifies the category in which the custom report should display in the Reports module.
Base Table:
Specifies the search module used to find records to include in the generated custom report. For example, you would select Invoice for invoice reports; Transactions for payment, credit, and retainer style reports; Time Expense for time and expense reports; etc. The base table to select is typically included with the SQL code the BQE Custom Reports department sends with the custom report. If this detail is not included, contact the Customer Reports department for assistance (customreports@bqe.com).
Save:
Stores your settings and adds the reports to the Custom folder.
Button Panel
Help:
Opens the ArchiOffice Help in the Preferences section.